More pre-launch projects

(Saturday 2-May-2015)

On Saturday my brother and I did some more pre-launch projects.

We crawled into the deepest darkest bowels of Thanks Dad to wash areas with Simple Green that may have never been washed before or in a very long time.  My brother wiggled his way into the lazarette to clean it up and I wiggled my old tired bones into the starboard quarter berth to clean it up.  We also clean the spaces under the cockpit sole. There was a noticeable difference after we were done.


Scrubbing the lazarette


A clean quarter-berth

We also installed a new Chain Locker cover in the v-berth.  We got the idea while at the Chicago Strickly Sail show in January.  I bought 1” x 6”mahogany from the local Menards and edge glued several pieces together.  We bought an access door from Kendore Boat Supply.  I took dimensions of the area and designed the chain locker cover using AutoCAD.  I printed a full scale drawing and used it to determine the opening size and shape.  I used this as a template to determine the cut lines.  After 6 layers of varnish it was ready for installation.


1″ x 6″ mahogany edge glued


Creating template


Transferring cut lines to board


Cut to shape


Access door opening cut and fit


Varnishing


Chain locker before


Chain locker after

We also filled several holes that were in the cabin top with Marine Rx Epoxy.  The largest was about 1” in diameter and was for an old power connector used for the Tiller Pilot.  The others were for lag bolts used to mount the forward parts of the cockpit coming to the side of the cabin top.


Old power connector hole


Filled with Marine Rx Epoxy

I had varnished the companionway hatch boards over the last several weeks and we installed them this weekend.

We brought the batteries and installed them in the new battery box fabricated last weekend.

Prior to launch projects

(Sunday 26-April-2015) Painted the transom with topside paint. The wooden battery box and its support base was rotted so we built a new one using composite decking lumber and installed it.

Old rotten battery box base


New battery box base made from composite decking lumber


New battery box and old battery box


New battery box installed

When the boat was hauled out last fall, one of the stanchions was bent somehow. I suspect the travel lift’s belt did it. I had it straightened at work and we re-installed it and the lifelines.


Bent stanchion


Stanchion straightened

Over the winter I bought an “hour run time meter” for the engine. I designed a cutout template to make it easier to install in the electrical panel. The template was laser cut from steel and I used it and a “rotozip” to make the cut in the electrical panel.


Installed engine run time meter and template.

A couple projects and a great day sailing

On Saturday the forecast was for severe thunderstorms so we didn’t go sailing. I did however go to the boat to do a couple projects.

The previous couple weeks the starter for the engine was acting up so I ordered a new one (on eBay) and installed it. Unlike most projects this one went very smoothly. The old starter come off without any drama (2 bolts and 2 wires) and the new one went on just as easy as the old one came off.

New starter / Old Starter


Easy install

I also got around to wiring the new “ProMariner ProIsoCharge Advanced Digital Charge Distribution and Battery Isolation System” I bought and mounted prior to launching the boat this year. Again this project went very smoothly as well. Easy install and no drama.


ProMariner all wired up and operational

On Sunday my wife, brother and I went out for a great sail on a beautiful day. We spent most of the day sailing at a speed greater than 5 knots and got to a high speed of 6.8 knots. Shortly after getting the sails up we were on a broad reach doing a nice 6.2 knots. My wife doesn’t mind the speed, but sailing with the “rail in the water” is not her idea of fun, so 6.2 knots on a broad reach was perfect for her.

6.2 knots on a broad reach


My wife and me


Sailing like my wife likes it


Though we did sail close hauled for a while


Coming in at the end of the day

Winds were 10-15 knots, waves were 1-2 feet with mostly sunny skies for a good part of the day.

2013-2014 off season Projects – New Galley

We redesigned and rebuilt the galley.

On the Saturday before Christmas, my brother and I disassembled & removed the galley from the boat. We also removed the bulkhead that separates the cabin from all areas aft.

Original galley with new “King Starboard” counter we put in, in 2012.

In the middle of disassembly & Removal

Old galley is gone. Need to clean up 47 years of crud that had accumulated behind and under the old galley.

I used the original sections of the galley and bulkhead as templates and documented their dimensions. I then rebuilt the original galley using cheap plywood in my basement as a start to the redesign process. Once we settled on a new design I bought special ordered marine grade plywood from the local Menards.


Tracing the original bulkhead onto the cheap plywood

The original ICE-box was not a really effective use of space.

We are planning to add a stove, but don’t like the idea of it sitting on top of the counter and being so close to the cabin top so I redesigned the counter with a recess so that the stove will sit 4 inches below the countertop.

The area under the stove was the original icebox and was redesigned as storage shelves.

Also moved the sink to the corner of the counter top, were the ice storage top was located.

The area where the sink was located is now another storage area.

We cleaned up the area and fiber glassed pieces of mahogany on the hull to mount the new bulkhead to.

Dry fitting the new bulkhead

New galley is installed

We are planning to cap the new galley with a stainless steel counter top and back splash.

2013-2014 off season Projects – Sail Cleaning

My brother and I decided to give the sails a cleaning.

We setup a cleaning process that started with a 32 gallon trash can with water and Oxyclean. We let the sails soak for 30 minutes then pulled them out of the can onto a table a small section at a time and brushed them with a soft brush. Once one side was done we turned them over and put them back into the can and repeated the process.


We spread the sails on the driveway to rinse them with a hose and then setup a drying rack using several ladders.


We have 3 sails (main, genoa, work jib) and cleaned all three. It took a total of 6 hours to clean/rinse/dry them.

2013-2014 off season Projects – Cushions

The first 2 sailing seasons we didn’t have any cushions as the original cushions were dry rotted when we got the boat and we tossed them out.

A new set of cushions just isn’t in the budget, so I have been looking into various options. In the spring of 2013 I saw 4” patio chaise lounge cushions at the local Home Depot that were the right size for the settee, a good color and weren’t too expensive at $44.00 each. Each settee includes the cushion bottom and a back.

I did not move forward though with the patio chaise lounge cushions in the spring/summer, but in October Home Depot was having a patio close-out sale and the same cushions were on sale for $10 each. So, I bought 6. 3 for the Settees and three for the v-berth cushions.

The foam in the cushions is not high density foam, but more like polyester batting. So I decided to add 2” high density foam on top of the 4” polyester.

I had read that the best and least expensive way to cut HD foam is to use an electric carving knife. So I bought one at the local resale shop for $5.00. I made a jig to attach it to a folding table we have so I could set the cut width. It worked perfectly.

Foam Cutting System


Polyester batting onto of 2″ HD foam

Original patio cushion sitting on top of new boat cushion

New boat cushion

The back cushion is 8” wide, so I had to cut one of the Home Depot patio cushions in half, length wise. My electrical knife setup worked great. I cut the whole thing foam and fabric in one cut.

I “hired” my oldest daughter to sew the two halves into the cushion backs and to sew Velcro on the bottom of each cushion.

New cushions in place on the boat.

2013-2014 off season Projects – Electrical Panel

I decided to rebuild the electrical panel.

The original one had an old “Automac II” alternator controller that didn’t work any longer and a solar panel controller that was no longer needed since we had removed the panels. There were also unused holes in the panel from long ago previously removed components.

I had some left over marine grade plywood from the galley rebuild that I used for the new panel.

I also “went shopping” on ebay and bought some new electrical components. I bought 2 , 12volt cigarette lighter panel outlets, 2 dual panel usb chargers, 2 digital volt meters (1 for each battery), 2 battery capacity meters (1 for each battery), 1 digital volt/amp meter (to monitor the alternator output), a digital thermometer (to monitor engine temps), and a couple sheets of 12’ x 12” x 1/8” ABS (to trim out everything).

I also decided to mount the VHF radio and AM/FM/Cassette radio in the panel which meant I needed to bring the panel out further away from the hull than the original one was mounted. I mounted the new panel on a hinge.

I bought a new alternator controller (a ProMariner ProIsoCharge).


(New Panel / Old Panel)

2013-2014 off season Projects – Holding Tank

When I installed the new holding tank last year when the boat was on the cradle everything looked good and level for the vent line, hose from the toilet to the holding tank and the discharge hose used for pump out which were located on the forward side of the tank. Once in the water with the boat was sitting with the bow riding higher, the tank was not level and tilted away from the discharge hose. We were not able to completely pump out the tank.

Original hose locations

So I bought a relocation kit from the tank manufacturer and moved the discharge hose to the opposite side of the tank.

New discharge hose location


New access hole needed to install new discharge hose connector


All done

First sail of the season and a few more projects

I was able to get the engine back in running order with a bit of effort this past week. 
At first I thought I would be able to patch the cracked exhaust elbow, but after cleaning the area in preparation for the patch, the cracked opened up quite a bit.  I ended up ordering a new one.  Thankfully this part is still available. 
Cracked exhaust elbow before cleaning
Crack got a bit bigger after cleaning
I was worried that removing the old cracked rusted exhaust elbow from the part is was attached to (silencer) would be an issue so I brought it to work.
After soaking it in penetrating oil and adding a little heat, they came apart ok.
This looked like trouble at first
 
After penetrating oil and a little heat
I soaked all the parts I had removed with the cracked exhaust elbow in CLR overnight, wire bushed them, bead blasted them, and then painted them.
They look as good as new.
Shiny!
Everything reassembled without incident and the engine is running great.
Reassembled and running
 
I also finished the plumbing connections for the new electric flush toilet and did the electrical wiring.  Other than a leaking (small) anti-siphon fitting for the fresh water line, it all works as planned.
All the plumbing is connected and working
Fresh water plumbing.
The thru-hull fitting is on the right connected to a water strainer before the pressure pump.
Switch bank installed and working.
It includes a switch for power, one for auto flush, and a third for manual fill and a manual flush
 
My brother and I also installed the electrical connector for the Auto-Pilot.  It’s not wired yet, but will be ready for the next sail.
Auto-Pilot connector installed in the cockpit
 
My brother and I also went for the first
sail of the 2013 season.

It was a bit chilly at 48 degrees and cloudy when we left the harbor at 3:30 with a moderate breeze at 10 knots.  Our high speed was 5.0 knots, but the wind died down to 2-3 knots an hour later and we weren’t going anywhere quickly at that point.  Still, it was good to get out on the water.

 
During the off season I bought a new (for me) “Hank on” sail bag for the jib.  Now we can leave the jib in place on the forward stay and the jib sheets attached when we are done sailing.  It will make for a faster get away when leaving for a sail and stowing everything afterwards.
New “Hank on” sail bag for the jib

Back in the water for the 2013 season and winter projects

A friend from work and I move the boat from the boat yard to the marina yesterday after work.  We have a new slip this year.  Last year we took what was available in terms of a slip.
It was a 40 foot slip for our 29 foot boat.  The new slip is a 30 foot slip.  I discovered last night there is a big difference in coming into a 30 foot slip with a 29 foot boat as compared to a 40 foot slip.  The 30 foot slip doesn’t leave room to maneuver.  It is a tight fit.

Thanks Dad’s new slip
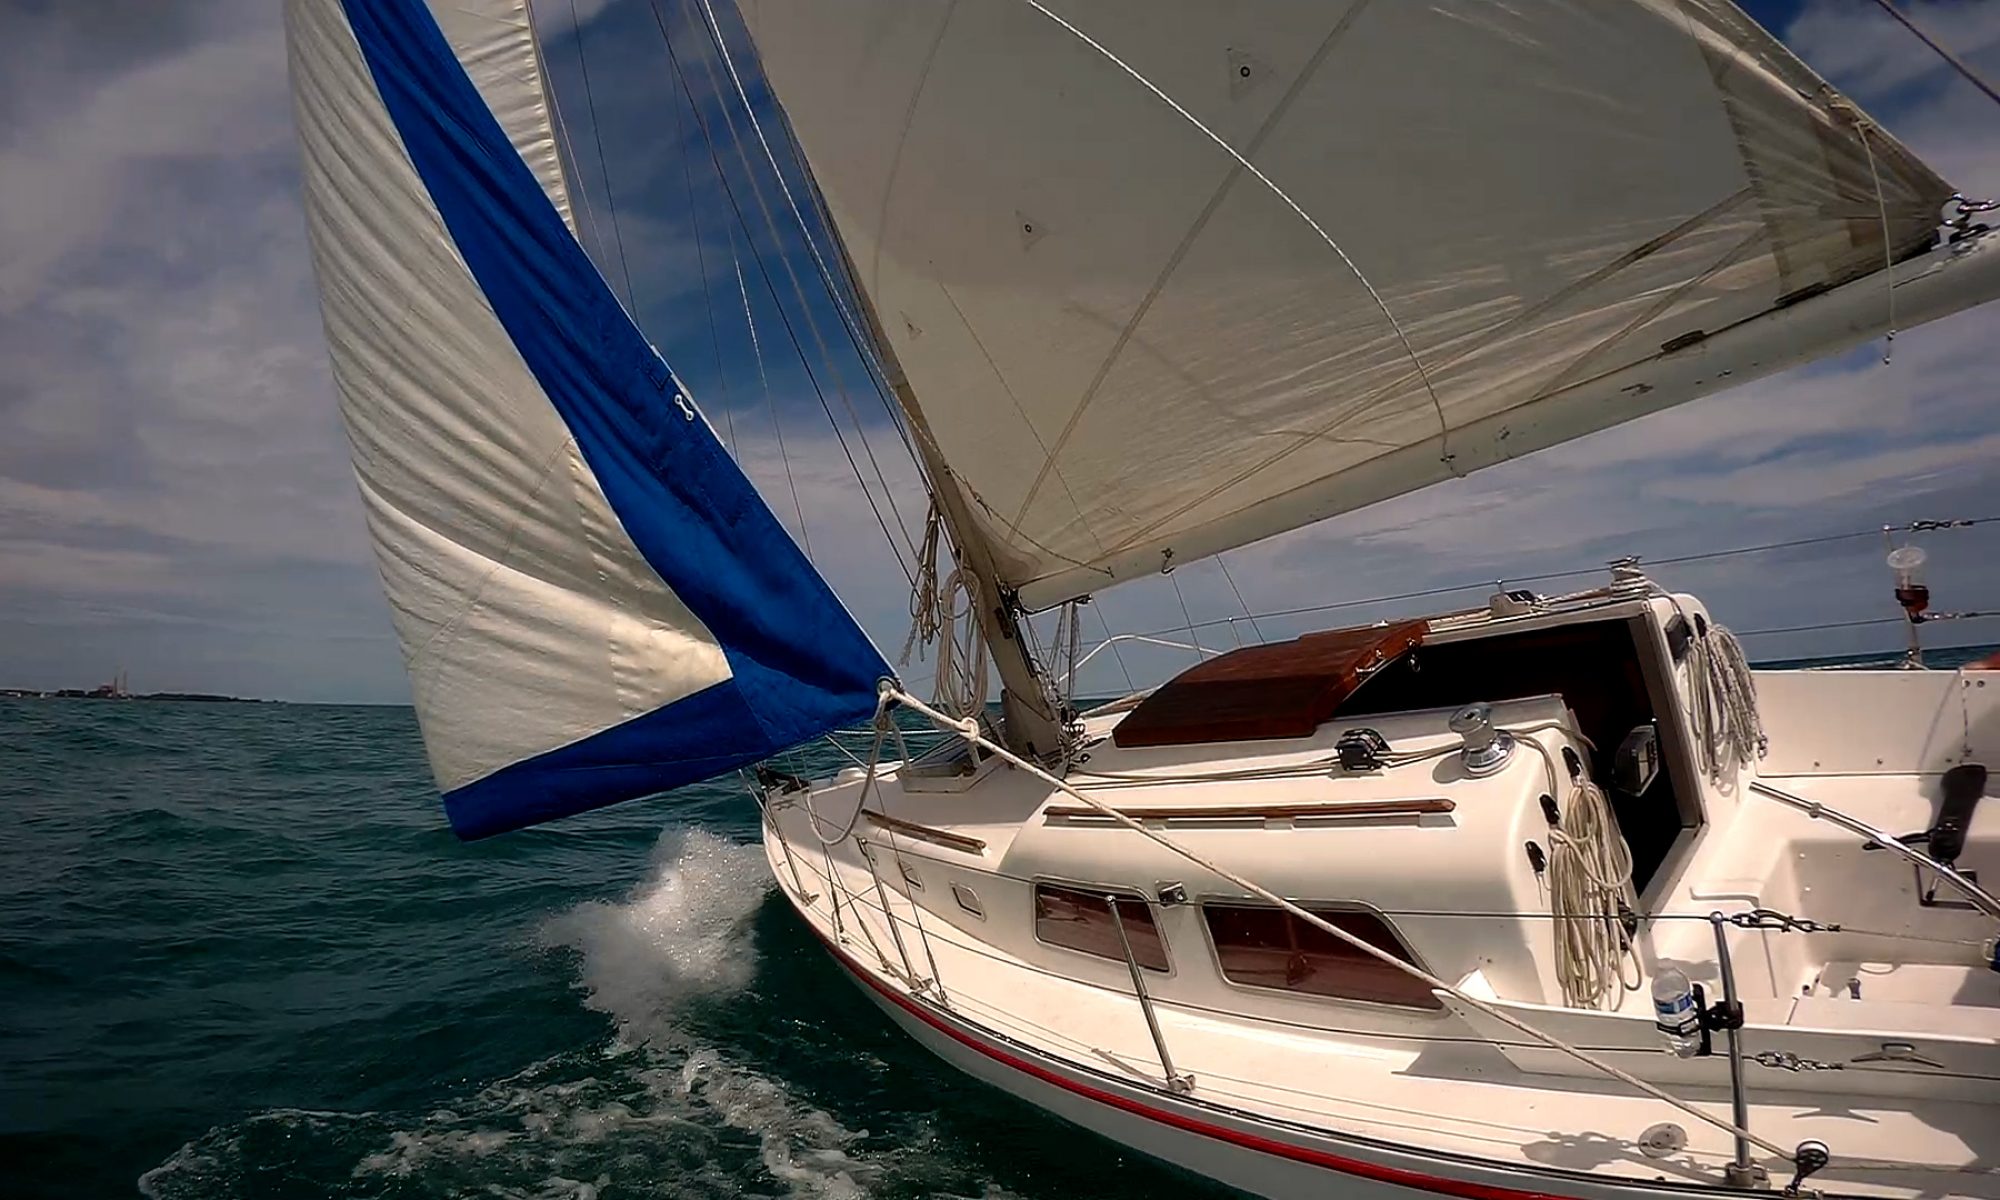
Tight fit in the slip

I also discovered a crack in the engine’s “mixing exhaust elbow”.  This is the pipe where the exhaust and cooling water come together before exiting out the back of the boat.  So during our trip to the marina, all the cooling water and exhaust came out the crack and not the back of the boat.  It made the engine compartment a bit wet.

Crack in Exhaust elbow

Over the winter, we did several projects and ebay became my new friend.
Unlike last year’s March when the average temperature was 50 degrees and we had a week in the 80’s, this year’s March had an average temperature of 30 degrees.  It finally got into the mid 40s the last couple days of the month so my brother and I took the opportunity to remove the tarp and breakdown the frame.   We match marked each piece of the frame so we will be able to get it back together in the fall without too much trouble.

We did miss drilling and screwing one of the 45 degree fittings on the frame and in January it separated and then shifted the whole frame causing the back to open up and a couple tears in the tarp.  We fixed it and it was fine afterwards.  In March one of the other 45 degree fittings broke (it had been properly drilled and screwed) but didn’t cause a problem with the tarp.  Since it was so close to the end of the winter season I didn’t bother making a repair. All in all the frame/tarp survived the winter fairly well.

Tarp after the Winter

I bought an electric flush toilet on ebay.  It was a mfg rep’s demo and is in perfect shape.  The manual pump on the old toilet had a crack and I got the new one for less than what replacement parts for the old one cost.  I removed the old toilet, removed and replaced the old thru-hull fitting for the water intake, capped the overboard discharge thru-hull fitting, took out the old flooring, hoses and bladder style holding tank.  Cleaned and painted the hull in the head area, fabricated a new floor for the new toilet from “King Starboard” and installed new hoses and a hard sided holding tank.  Still need to do the final connections from the water intake to the pump and then the toilet.

Old head area
New head area
Old bladder holding tank
New holding tank

Under each of settee berths in the cabin was a 35 gallon stainless steel water tank.  These were original pieces of the boat and at over 45 years old I was not intending to ever drink water that had been inside these things.  I removed them and am planning to make this a storage area at some point.

Removing the old water tanks

In the cockpit of the boat is a panel with indicator lights for low oil pressure, water temperature and alternator charging.  Two (2) of the indicator lights had broken lenses and there are two (2) larger holes in the panel for non-existent gauges.  These holes had hole plugs in place, but they were cracked and would fall out easily and frequently.  I removed the panel, painted it, bought new hole plugs and bought new indicator lights. Unfortunately, the holes in the panel for the indicator lights are 5/8”
diameter and the largest indicator lights I could find are ¼” diameter.  So I bought  5/8” holes plugs and drilled them to mount the ¼” lights.  Also made labels for each indicator light.

Cockpit engine panel before and after

My dad had rigged the boat for single handed sailing by removing  the mast winches and cleats for the mainsail  and jib halyards and mounting them on top of the cabin so he could raise and lower the sails from the cockpit.  I bought and installed used winches and rope clutches on eBay to update the rigging.  I cleaned and re-greased them before installing them.  I also cleaned and re-greased the jib winches and  bought new line on eBay to replace the main sail halyard.

Old rigging
Winches before and after cleaning
Newly cleaned winch during installation
New rigging with rope clutches and winches.

Before fabricating the tarp frame in the fall, my brother and I removed the lifeline stanchions and their bases from the deck.  Several of the stanchions were bent and the guys at work straightened and polished them for me.  They also cleaned up the stanchion bases by bead blasted them.  They are looking like new now.

Stanchion before and after
Stanchion bases before and after

I had to cut the life lines in order to remove them from the stanchions, so we had new life lines fabricated and changed the design slightly with a threaded gate eye at the most aft stanchion.  This way the life lines and be removed without cutting and they don’t become too loose and useless when the gate is
open.

New life line’s Swivel Gate Eyes

The bow and stern pulpits were also bent.  I think the mast resting across them when the boat was hauled from Maryland bounced up and down and bent them.  I tried to straighten them myself, but didn’t have the proper tools to do it.  So I found an auto body guy who was able to do a good job improving them.  They are still not perfectly straight, but are a lot better than before.

We also painted the cockpit area.  Last year we primed, but we never got around to painting it.

Painting the cockpt